Highlighter Extension
Overview
The Simple Glossary Highlighter Extension highlights glossary terms directly on Confluence pages.
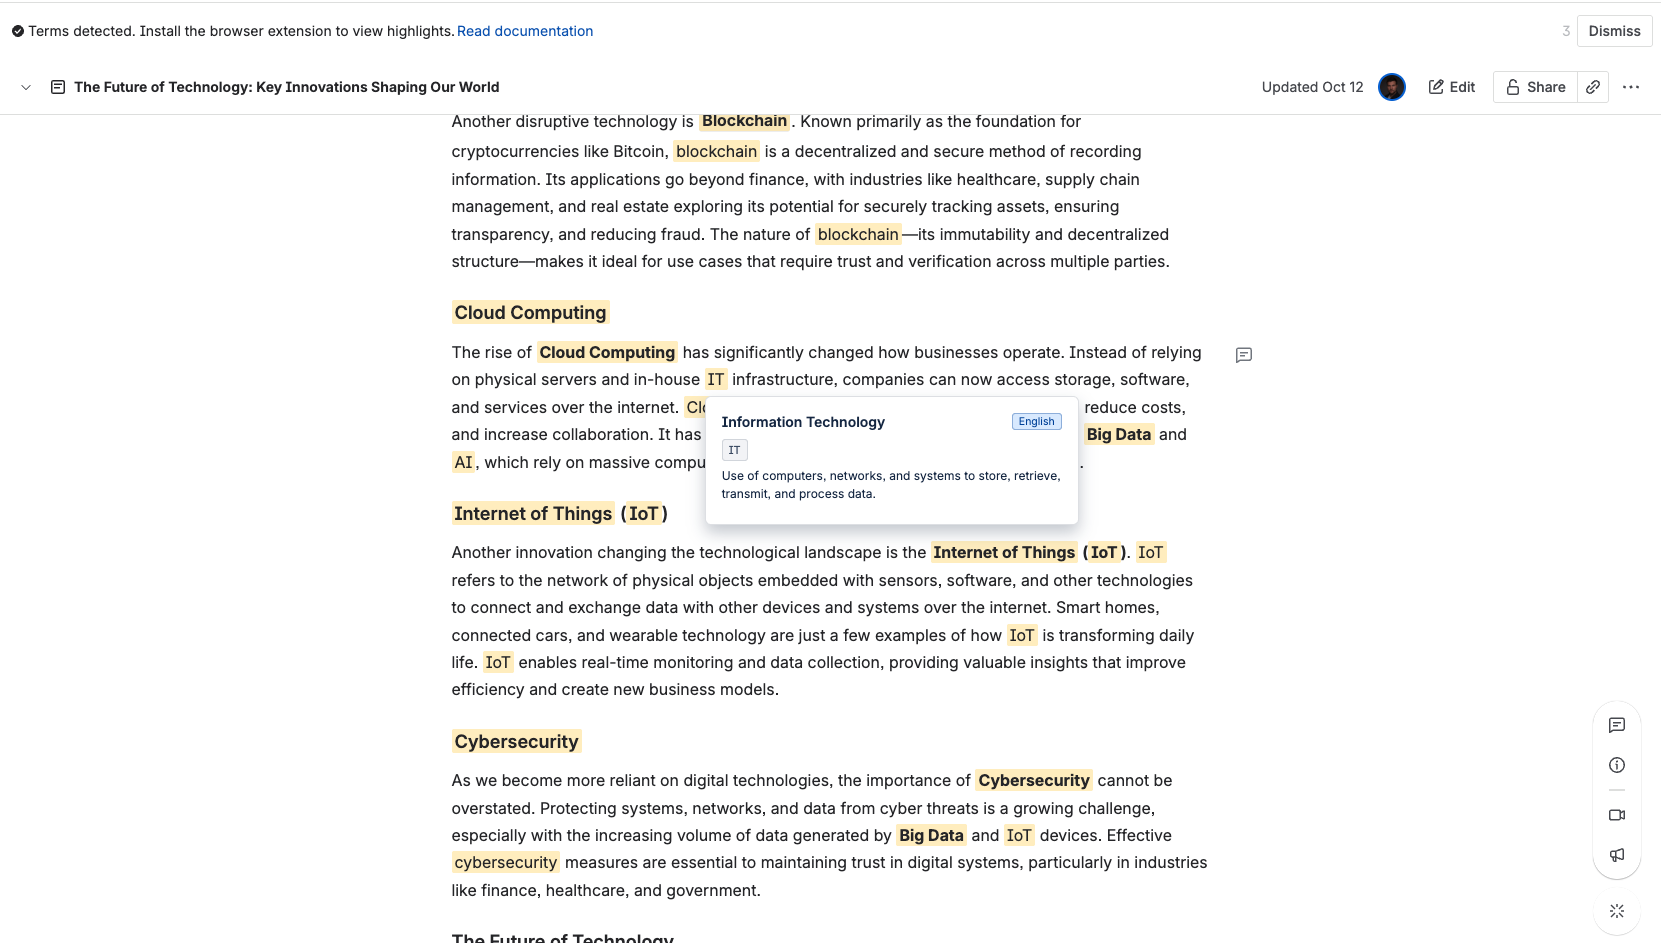
When glossary terms are detected, a banner appears at the top of the page to notify you.
Once installed, the extension automatically highlights all terms available for your current Confluence space.

When the Extension Works
The extension activates automatically when:
- You visit a Confluence Cloud page with Simple Glossary installed.
- Terms from the glossary are detected on that page. Terms can be detected from:
- current space glossary
- linked spaces (find out more about Linked spaces)
- all global terms
- The top banner confirms detection (“Terms detected”).
If no glossary terms are found on the page, the banner will not appear.
To enable browser-based term highlighting, activate the Terms Highlighter Extension option:
- in the Space settings → Settings tab for a specific space, or
- globally in the Global settings to apply it across all spaces.
Installation Guide
1. Download the Extension
Download the ZIP archive: Simple Glossary Highlighter v.0.1.1.zip
Currently, only Google Chrome is supported.
2. Install in Developer Mode
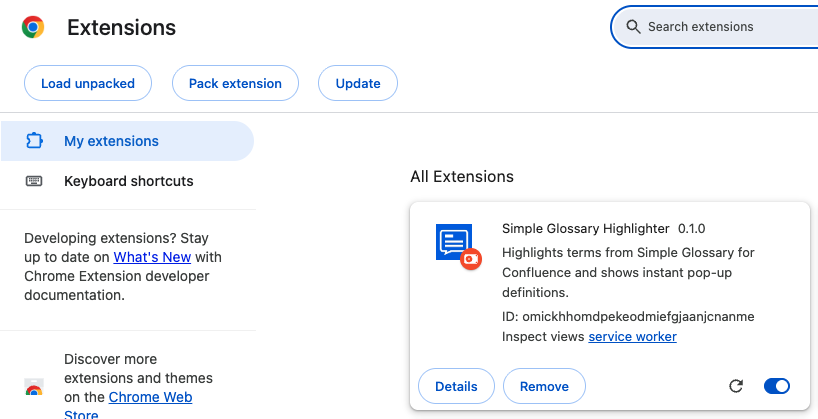
- Open Google Chrome and go to:
chrome://extensions/ - Enable Developer mode (top-right corner).
- Click Load unpacked.
- Select the extracted folder of the downloaded ZIP archive.
- The extension should now appear in your list of Chrome extensions.
Do not disable Developer Mode after installation — the extension must stay in developer mode to work properly.
How It Works
Once installed:
- The extension listens to page content updates in your Confluence instance.
- When glossary terms are found, it:
- Displays a banner at the top of the page.
- Highlights each detected term.
- Allows you to hover over terms to view their definitions.
Options and Settings
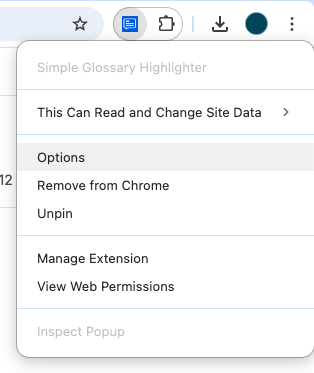
You can open the extension’s options by right-clicking the Simple Glossary Highlighter icon in the Chrome toolbar and selecting Options.
The Options page lets you configure how glossary terms are visually highlighted on Confluence pages.
All settings are grouped in the Highlight Style section.
Highlight Style
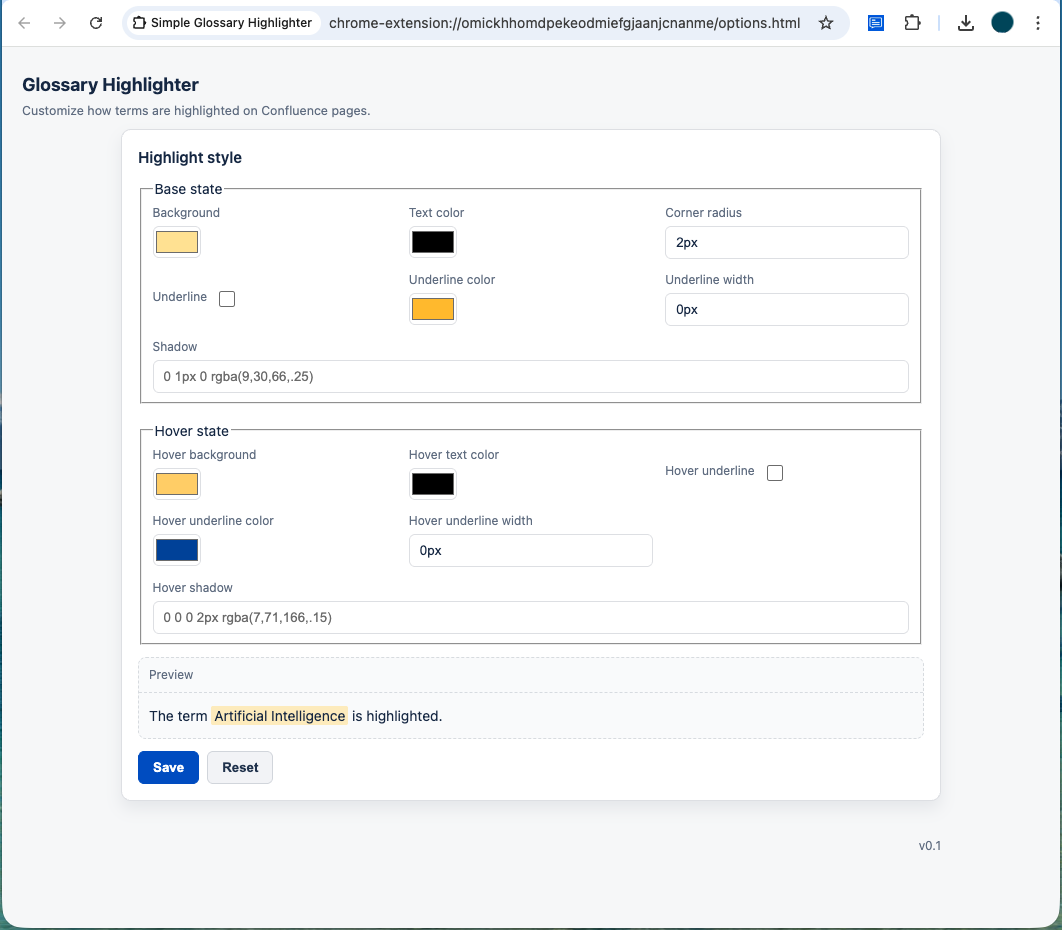
The Highlight Style section allows you to customize both the normal (Base) and hover appearance of highlighted glossary terms.
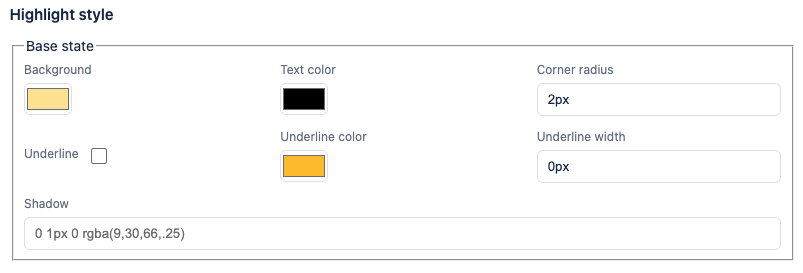
Base State
Defines how terms look by default:
- Background — the background color behind the term.
- Text color — the text color of the term.
- Corner radius — rounding of the background edges.
- Underline — enables an underline below the term.
- Underline color — color of the underline (if enabled).
- Underline width — thickness of the underline.
- Shadow — adds a subtle drop shadow effect.
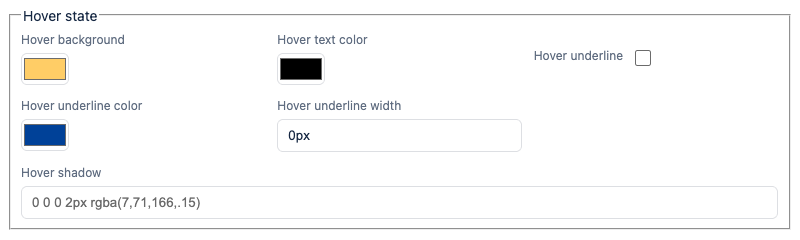
Hover State
Defines how terms look when hovered:
- Hover background — background color when the cursor is over the term.
- Hover text color — text color when hovered.
- Hover underline — toggles underline visibility on hover.
- Hover underline color — underline color when hovered.
- Hover underline width — underline thickness when hovered.
- Hover shadow — shadow intensity or style on hover.
Preview
The Preview section shows a live example of your current highlight configuration.
Use it to instantly see how your adjustments will appear on real pages.

Actions
At the bottom of the page, you’ll find:
- Save — applies and stores your custom highlight settings.
- Reset — restores default values.
That’s it!
You’re ready to see glossary terms highlighted right inside your Confluence pages.